
How to Build and Install a DIY Floating Mantel
When we bought our house, I was so excited that it had a fireplace, but I was kind of surprised that it didn't have a mantel. I mean where are you supposed to hang stockings at Christmas if your fireplace doesn't have a mantel?
Installing a mantel quickly went on my list of house projects. But after shopping around and looking at countless options, I couldn't find anything that was the right dimensions for a price I was willing to pay.
So I started looking into DIY options. After a bunch of research, it seemed that building a mantel was actually fairly easy. And after watching several YouTube videos, I was convinced installing it wouldn't be that hard either.

So off to the hardware store I went to get my supplies.
Here's what I needed:
To build the mantel:
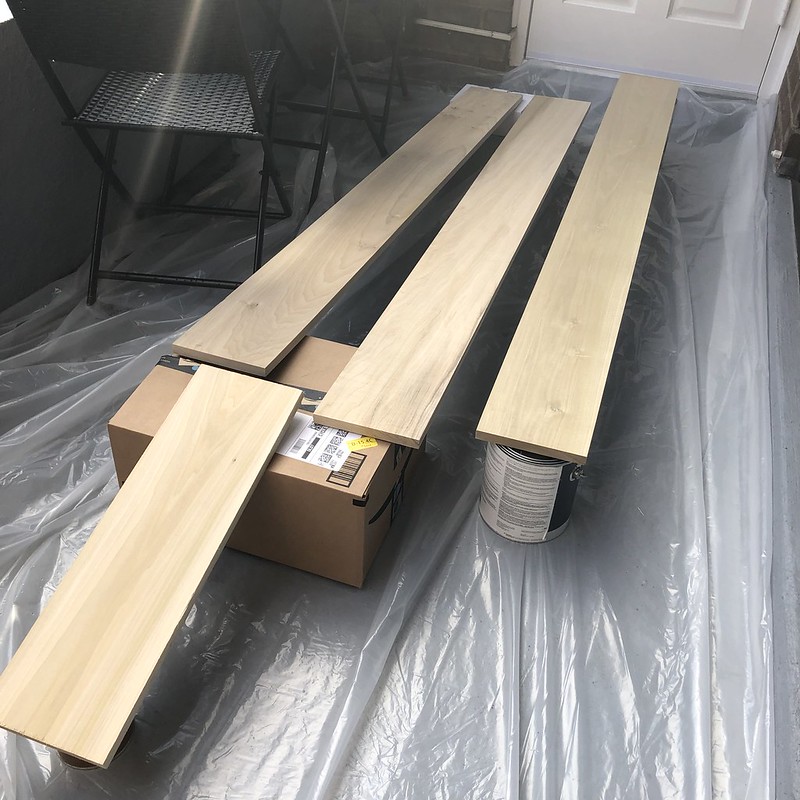
- 3 1"x6"x6' poplar boards
- 1 1"x6"x2' poplar board
- Wood stain
- Polyurethane
- Wood glue
- Finishing nails
- 1 6-foot long 2x4
- 4 lag bolts
- Finishing nails
- Masonry drill bit
- Level
- Stud finder
Once I got everything home, I had to wait until the weather cooperated so that I could work on staining the wood outside. And just my luck, we had an incredibly rainy/snowy/icy February. So the staining process took a long time.
My goal was three coats of stain and three coats of polyurethane to make sure it was sealed.

Because the weather was uncooperative, I actually ended up assembling the mantel on a snowy weekend and then finished with the polyurethane once the weather was nicer again. I wouldn't necessarily recommend this approach since it's easier to stain the separate pieces of wood, but it worked out just fine.

Assembly was definitely a two-person, two-day job.
Day one was attaching the wood with the wood glue.
We started with the three 6-foot panels. We determined which piece looked nicest and decided that would be the front piece, and then used the two other pieces for what would be the top and bottom.
We laid everything out on the floor, ran a very thin line of wood glue along the front panel, and then attached the two other pieces of wood.
While you could manage this with one person, it definitely helped to have two sets of hands to get everything lined up properly and apply even pressure.
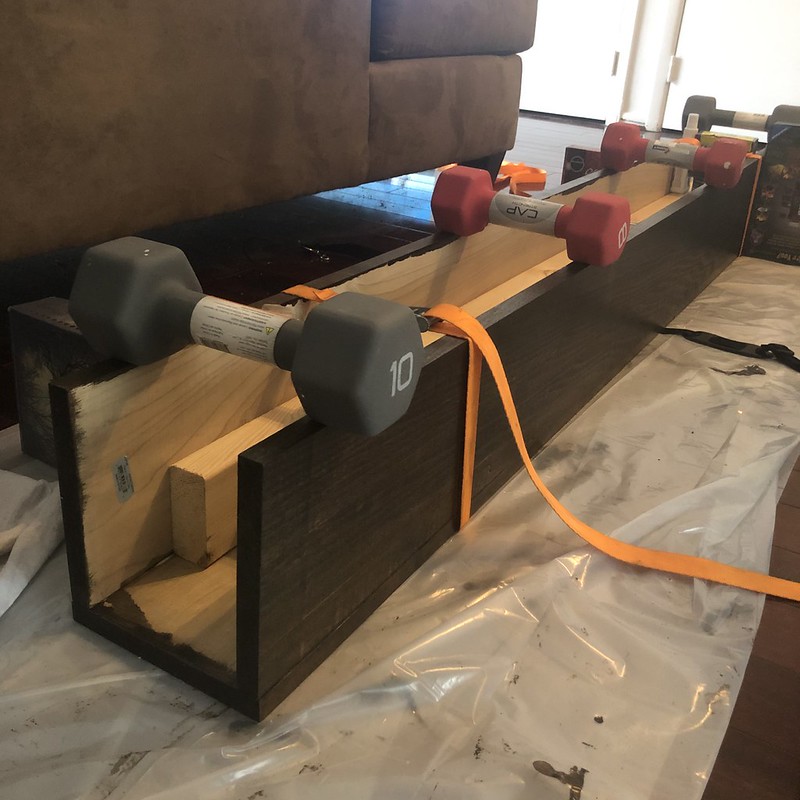
We used random items from around the house -- like the stain can -- to ensure the top and bottom pieces stayed perpendicular, and we used hand weights to keep the pressure on the wood over night so the glue could set.
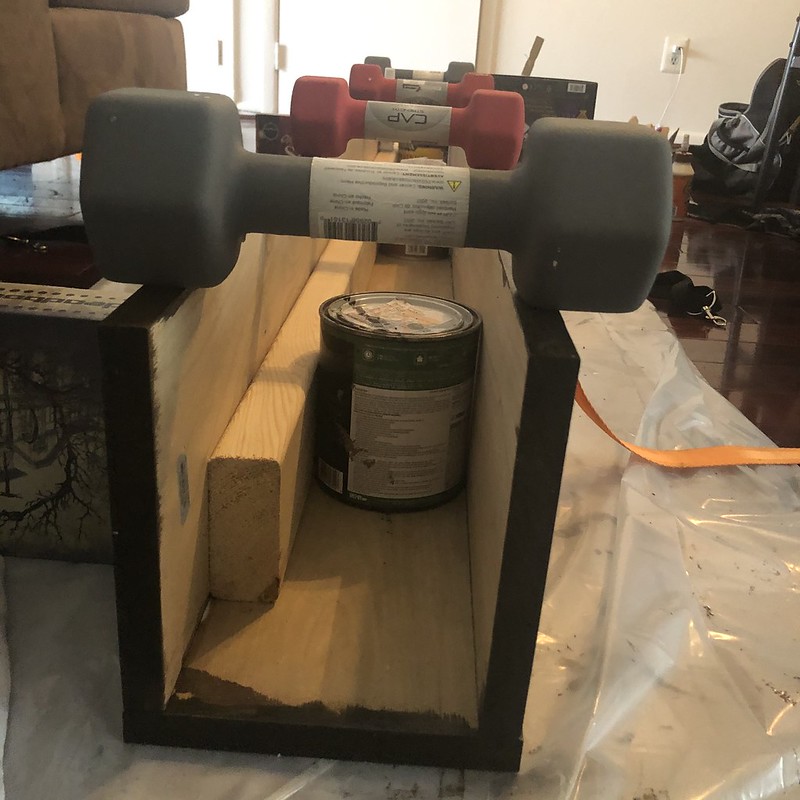
The last thing we did was fit the end pieces. We took the 2-foot long poplar board, and measured the openings on each end of the mantel once the pieces were glue in place. Then we cut that board, glued it in place and topped it with another weight to hold it down over night.
(Pro tip: We don't have a saw at home, but if you take a piece of wood to Ace Hardware, they will do simple cuts for you. So hat tip to our neighborhood Ace for helping us with this step).
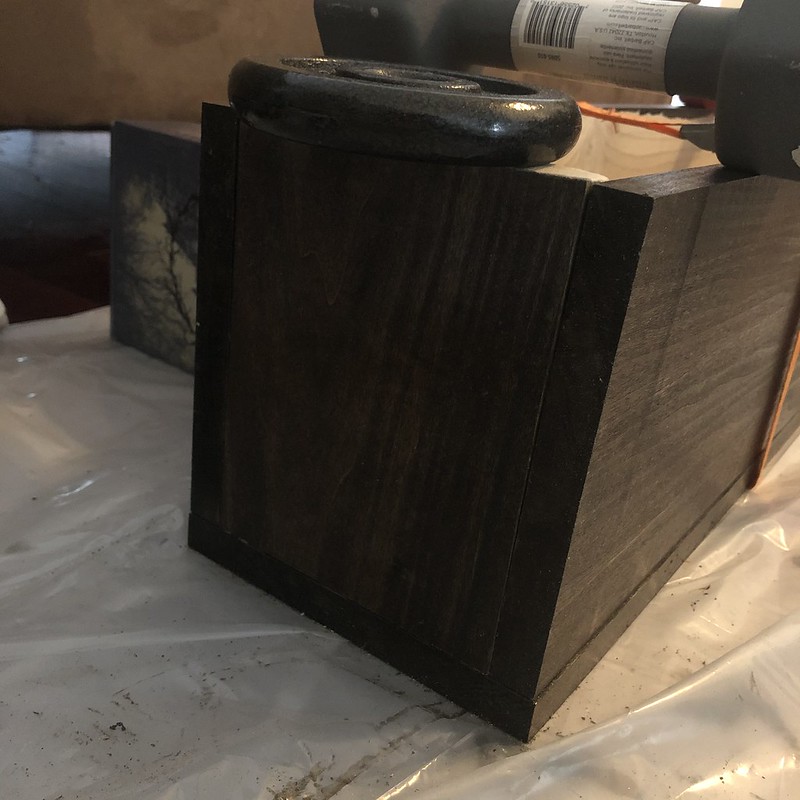
The next day we took off all the weights, flipped the mantel over and used the finishing nails to finish connecting the pieces of wood.

And just like that, the mantel was built.

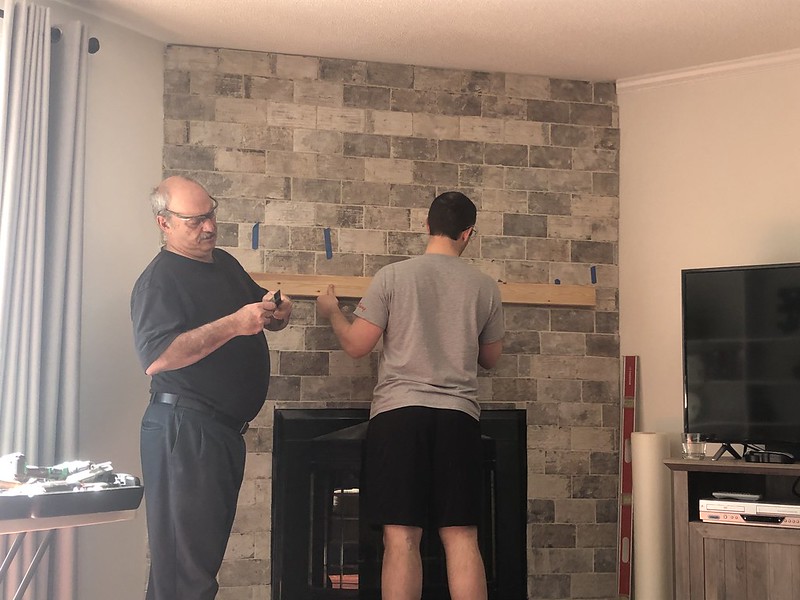
To actually install it on our wall, we called in the professionals -- aka my dad -- because I was nervous abut drilling through the stone tile around the fireplace. I had these horrible visions of tile shattering and the whole wall crumbling.
I figured with my dad's experience and his slightly better quality tools, we'd be able to avoid a total disaster.
The hardest part about installing the mantel was actually finding the studs. Because there was tile over the dry wall neither of the two stud finders we used could reliably find where a stud was. So my dad decided to drill a pilot hole and see if he could locate a stud. He found one eventually, and from there was able to measure and find three more studs that we could use to anchor the mantel.
From there, he drilled the four holes wide enough that the lag bolts could fit.
Once we found the stud locations, we took the 2x4 and lined it up along the wall, marking on the wood where each of the studs were. Then we drilled the accompanying holes in the wood.

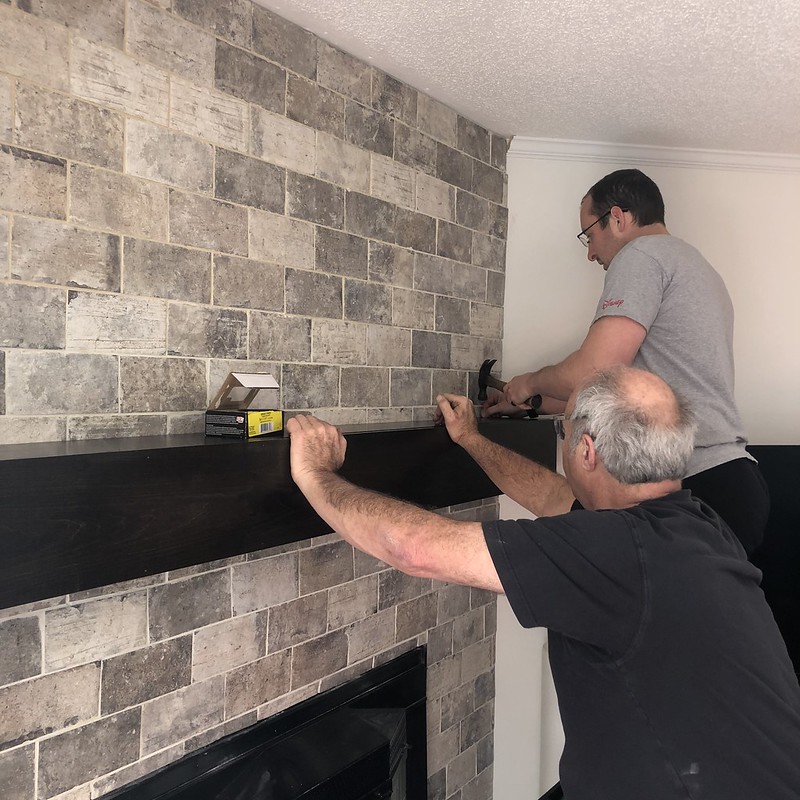
Finally it was time to actually attach the 2x4 to the wall with the lag bolts. We used 4-inch lag bolts to get through the 2x4, tile, dry wall and securely into the stud. We loosely screwed in the lag bolts, checking to make sure the 2x4 was level before securing them tightly.


Lastly, we installed the mantel on top of the 2x4. We lined it up so it would be centered on the wall, and then attached it to the 2x4 with several finishing nails.
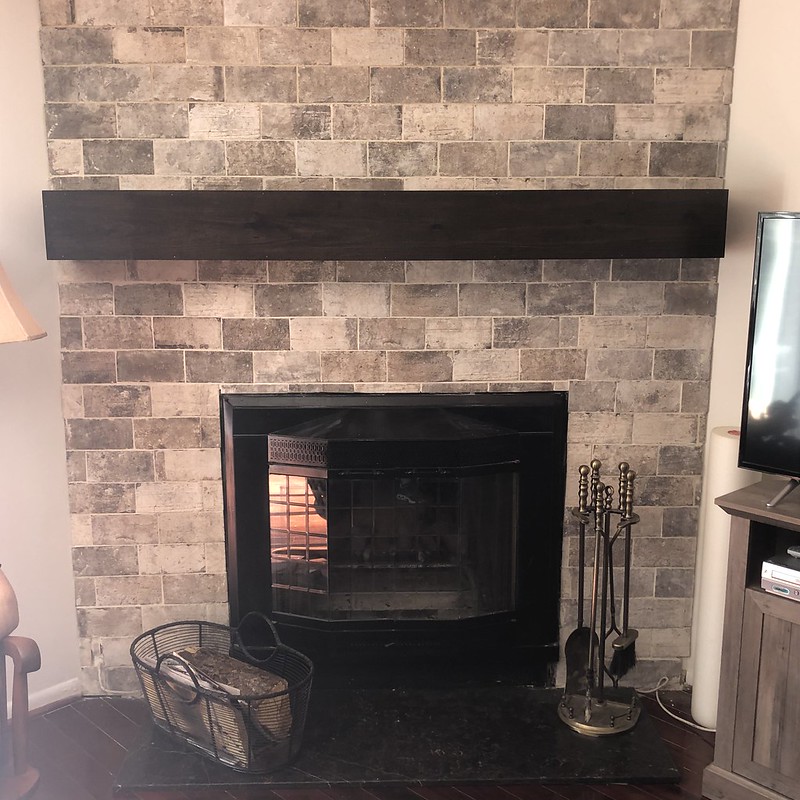
And now we have a really beautiful mantel that I'm incredibly proud of!


0 comments