
Building a Weather-Proof Outdoor TV Cabinet
A few months ago, my husband had the great idea for us to upgrade our patio by building a weather-proof cabinet so we could mount a TV outside.
We had a small smart TV that was sitting upstairs in one of our guest rooms that never got much use, and we figured it could have a new home on the patio.
We took some measurements and determined we'd easily have room on our patio to build a cabinet big enough to accommodate the TV. Because our patio gets lots of sun, we wanted to ensure we hung the TV in a place where wouldn't get bad glare.

Once we had all the math done, we headed to Home Depot for supplies.
Our supplies were pretty straight forward:
- 3/4 inch plywood for the back of the box
- 1 1x8x8" board to be cut down to size for the top, bottom and sides
- 1/4 inch plywood for the doors
- Decorative trim for the front of the doors
- Brick anchors and screws
- Hinges
- Door Handles
- Deck stain
- Outdoor wood sealant
Step one was cutting all the wood down to size. We started with 3/4 inch plywood that would be mounted into the brick. We were working with a 27" TV, so we cut the back piece to about 33" wide. We wanted there to be some wiggle room without unnecessary extra space.

Then we cut the 1x8 board into the four pieces that would make the top, bottom and side pieces of the cabinet.
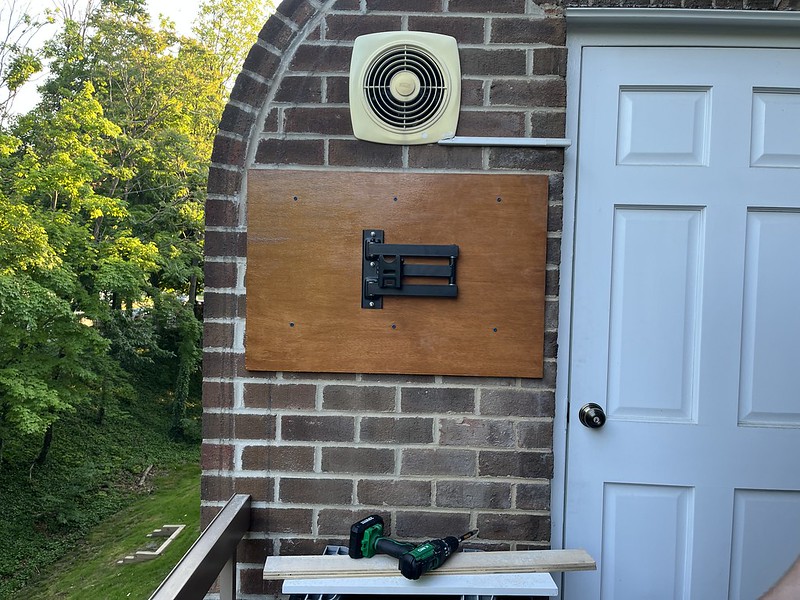
Before treating any of the wood, we installed a TV mount onto the plywood and made sure everything fit together the way we hoped.
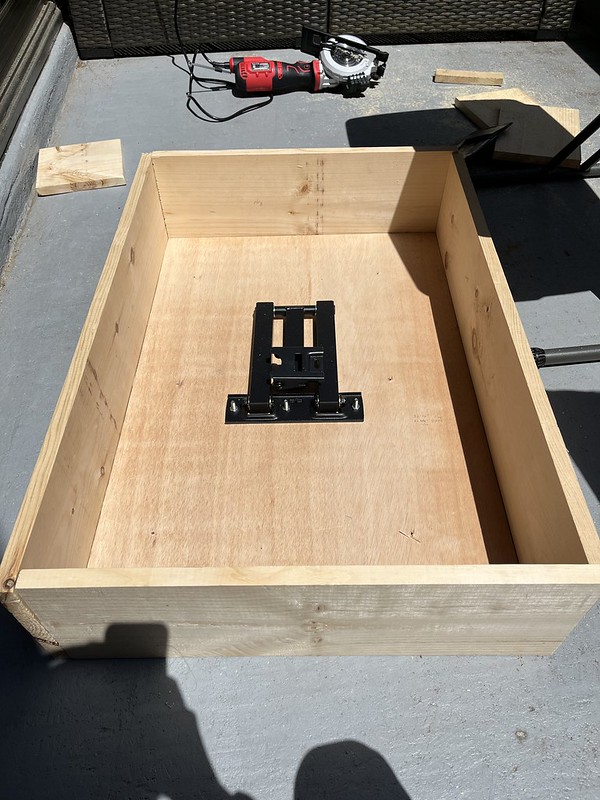
We also drilled some pilot holes to make it easier to mount the plywood to the brick when the time came.
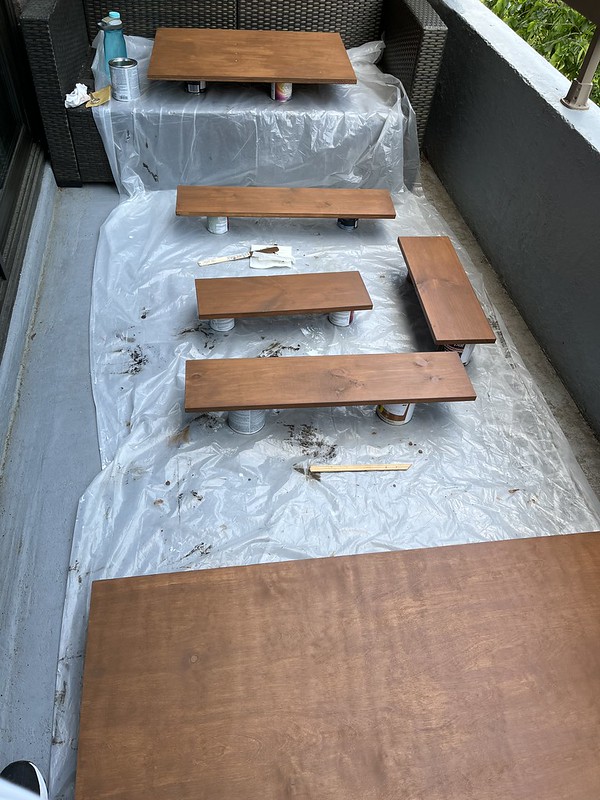
And then came the most tedious part of this project -- treating the wood to ensure that it was waterproof and could hold up against the elements.
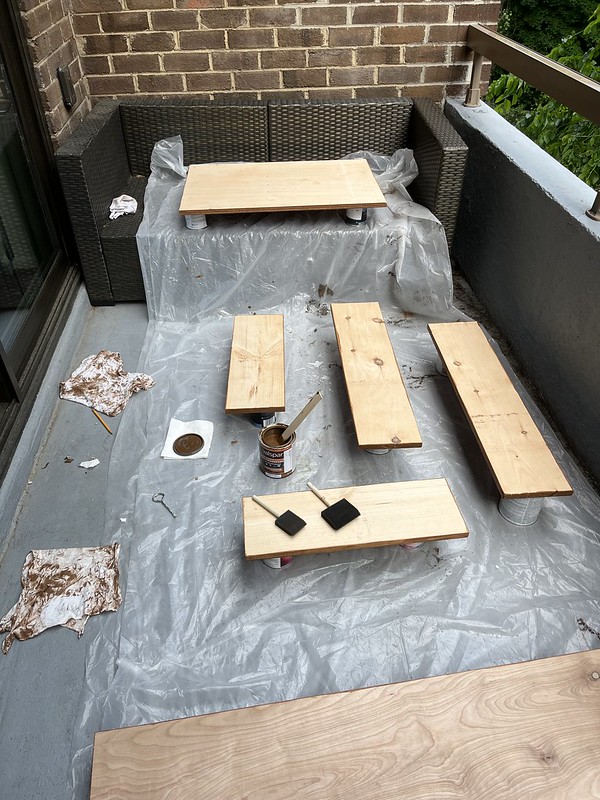
This required three coats of stain per side per piece of wood. Then an additional three coats of sealant per piece of wood per side. The stain dried pretty quickly, but the sealant took forever to dry, which meant there were some days we just couldn't make a lot of progress. Staining and sealing these pieces probably took a week to ten days.
But then we got to the fun part of assembly!
Drilling the pilot holes into the brick was a process. We planned for six anchors to make sure the cabinet wouldn't go anywhere, and it took a long time to get holes drilled even with our special brick drill bit.
But getting the plywood and mount up on the brick felt like a big step forward!
From there we screwed in the sides, top and bottom.

Our box was coming together, and we put the TV up on the mount to make sure everything fit well.

The last part of the project was to assemble and mount the doors. We kept the doors really simple with a piece of plywood that we framed with some mitered trim.
We tested the measurements one more time, and then installed the hinges and the handles.

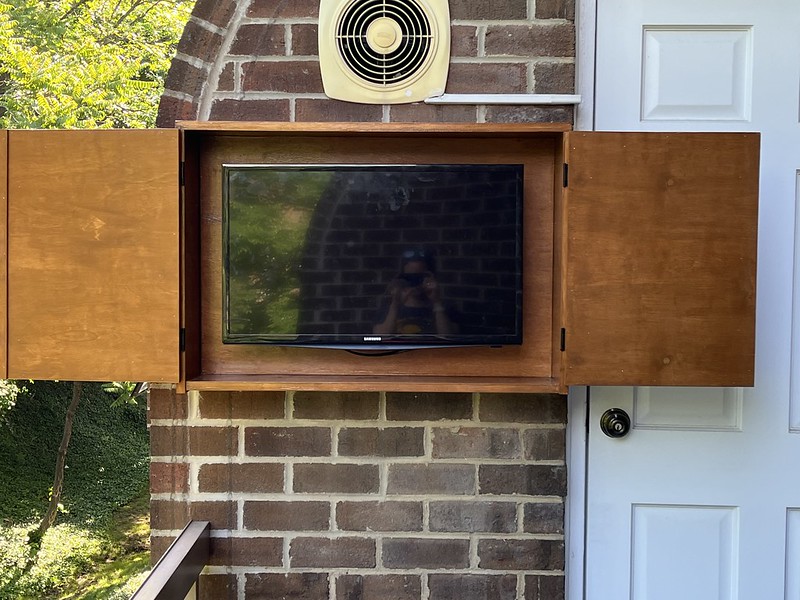
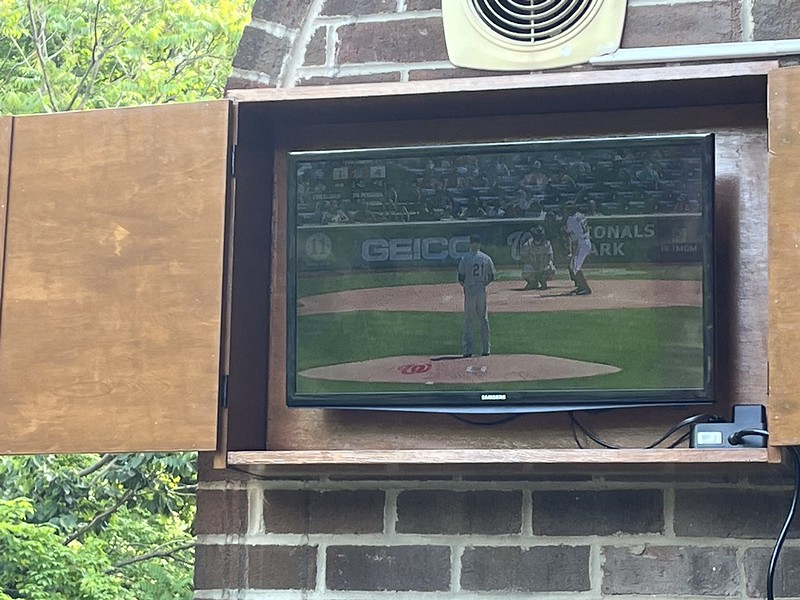
And then we installed the TV for real.

We are so excited with how this cabinet turned out and are loving being able to sit outside on nice days and watch TV.


0 comments