
Putting the Finishing Touches on Our Half Bathroom
Back in June, I showed you some of the initial work I did to liven up our small half bathroom. The focus then was to turn a sterile, white space into something more fun and colorful.
I was really happy with how the first bit of work turned out, but I knew I needed to do something with the tall white wall behind the toilet. It was the last remaining part of the room that just felt very unfinished.
After searching for ideas to the ends of the Internet, I finally came up with a game plan, and loved the way it turned out.

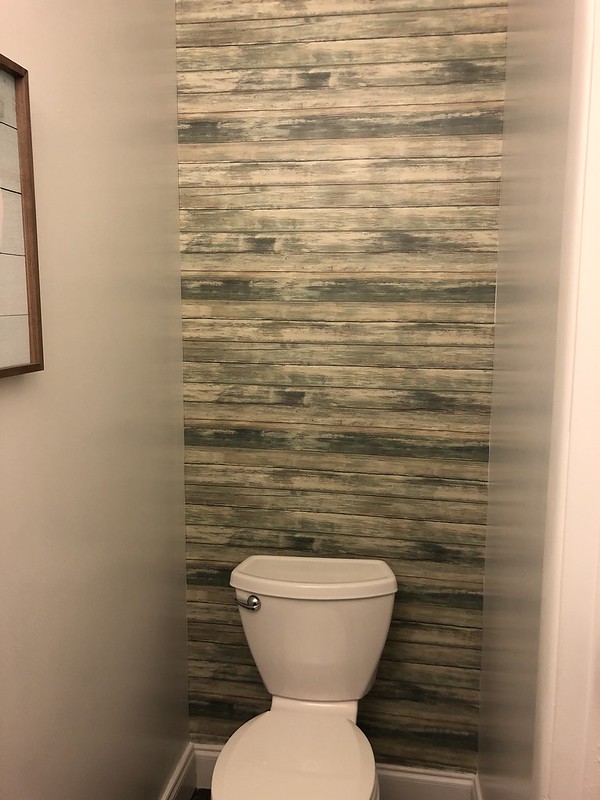
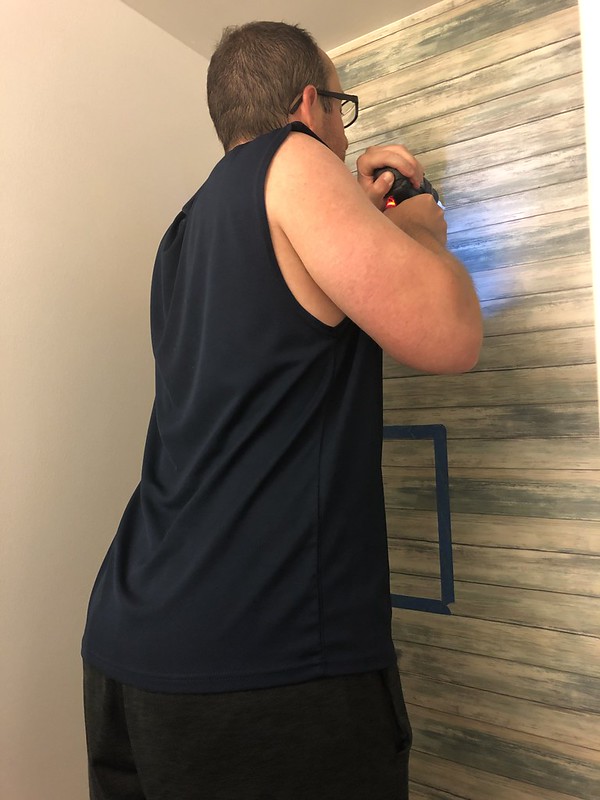
First, I settled on adding some wallpaper to give the wall color and texture.
I wanted to continue to build on the nautical theme I had going on, and I found a beachy looking, weathered wood pattern that I thought would be perfect.
I was able to get the first piece up by myself without any issues, but from there things got tricky, and I had to call in the reinforcements.
It was much easier with two sets of hands to maneuver around the toilet, line the wallpaper up and then smooth it down making sure we got out the air bubbles.

Once we had it all up, my husband took an Xacto knife and cut the excess off from around the edges.
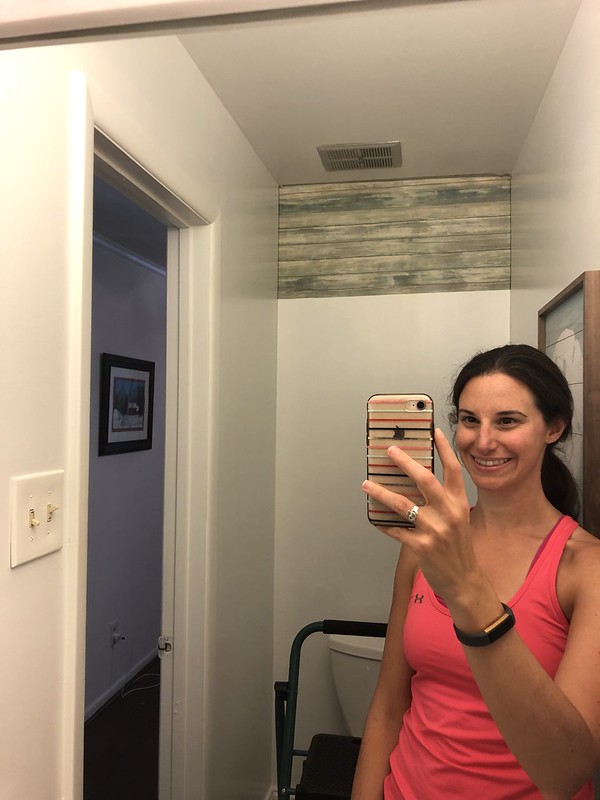
I loved the way this instantly added some color and made this wall so much more interesting. Here's the before and after shots, with me wedged in next to the toilet.

This small change made the room feel much closer to complete, but I still felt like because the wall was so tall, it needed something else. I just couldn't decide what.
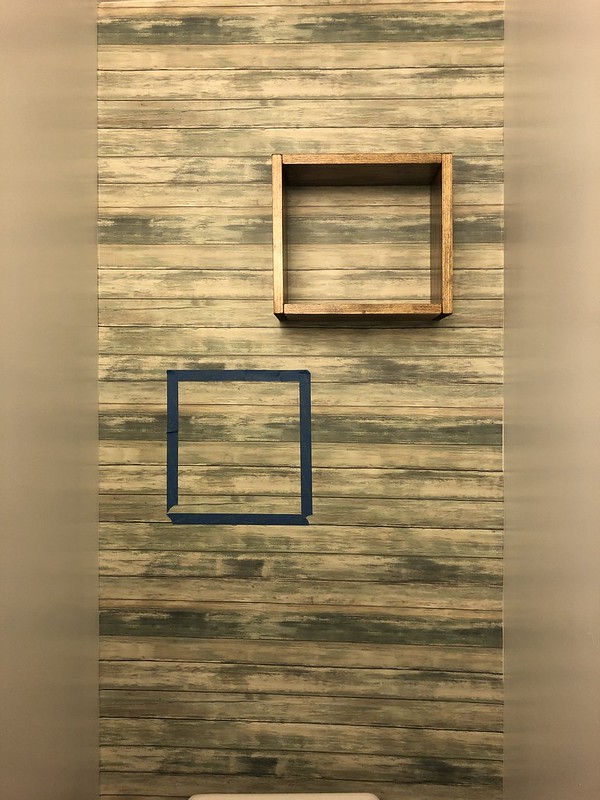
So out came the painter's tape, so I could play around with different options to get a sense of what might work well in the space. I knew I either needed one really big piece of art or several smaller things in some sort of a collage situation to make this space work.
Ultimately I decided one big piece of art didn't feel as exciting since we already have a picture hanging on the other wall. So I immediately starting playing around with shelves or collage ideas with multiple parts.

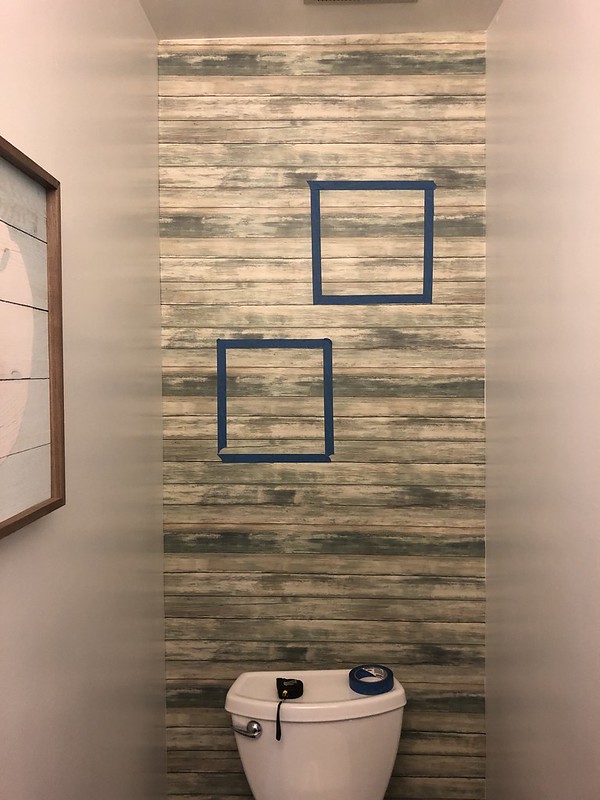
As soon as I tried the squares, I knew that was the direction I wanted to go in.
I left the painter's tape up on the wall for several days, and each time I walked into the bathroom, I liked the idea more and more. So I knew I was ready to head to the store and buy the supplies to build some custom shelves.
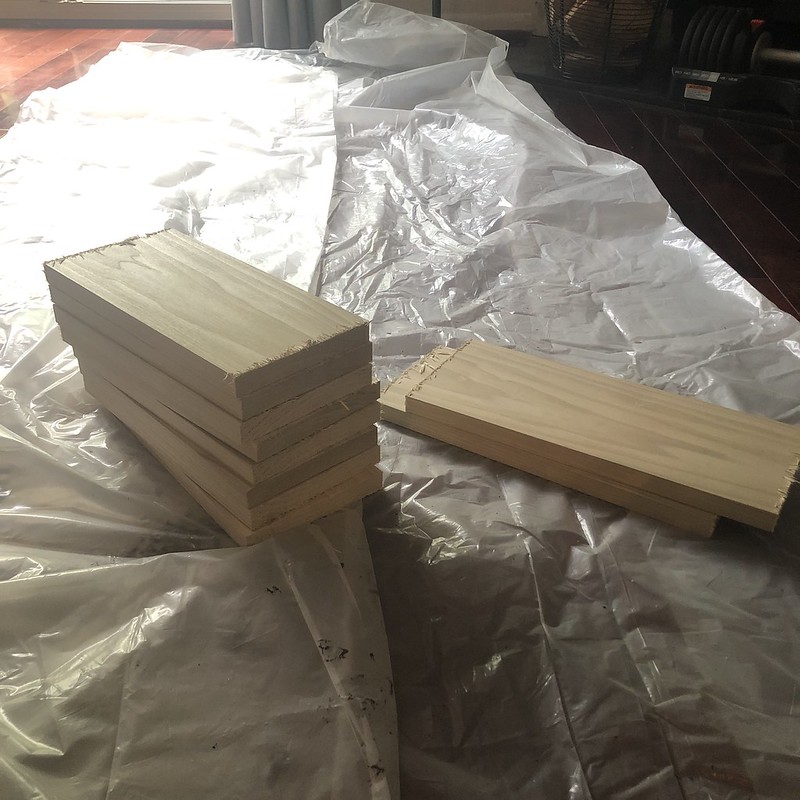
The way I measured things out was that each side of the square was going to be 12 inches long. So I purchased one 1x6x12 ft poplar board, and had Home Depot cut it down into the eight 12 inches pieces I would need. (I also had them cut the remainder of the board into two 14 inches pieces for another set of shelves for a different room, but I'll share more on that project later).
I had wood glue and nails at home, so the only other supplies I needed to pick up were stain and the mounting brackets that I would use to hang the shelves.
Let me tell you, picking the right color stain turned out to be a challenge. I wanted a light, but warm, wood tone. The first stain I picked out ended up being too grey, which actually worked perfectly for the other shelf project, but did not work for this bathroom.
So I ran out to three more home improvement stores trying to find a stain color that would work. I eventually settled on Minwax Puritan Pine.
Shelf assembly was very similar to what we did for the mantel. We started by sanding everything down really well.
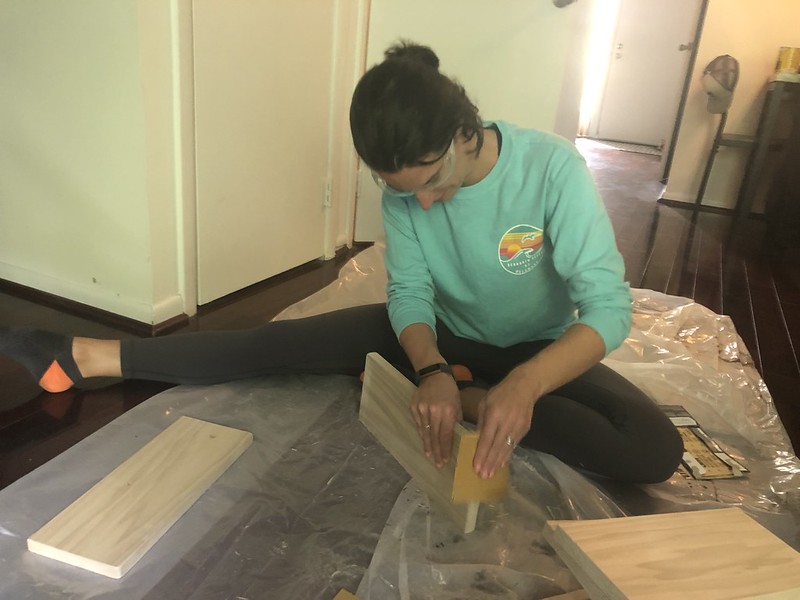
Then we glued the pieces of wood together and firmly attached them with nails. As you can see, we got really creative with using stuff from around the house to help hold the shelves in the proper form while the glue dried overnight.

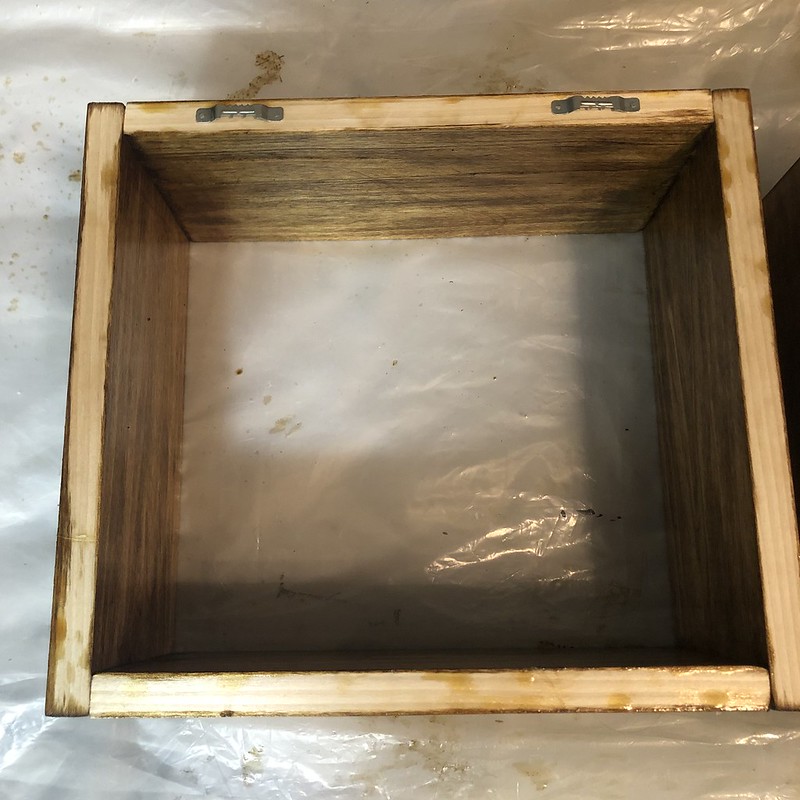
These shelves aren't very big so the staining process went really fasting. After two coats of stain, I followed up with three coats of polyurethane to seal everything. Normally, I stain and seal things outside because of the fumes, but the weather forecast was not promising, and I couldn't risk my shelves getting rained on, so I sucked it up and did it in the house.

Then we attached the mounting brackets and hung these on the wall.
The most challenging part of hanging them was being super careful that we nailed the holes into the wall in a level manner. So it was lots of measuring and adjusting to make sure we got them just right. It was very helpful to have assistance on this part.
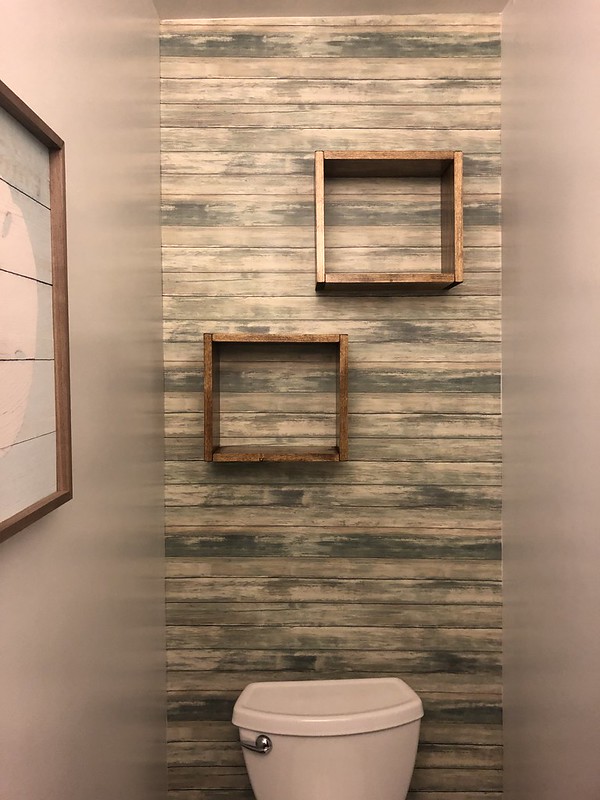
I love these shelves. I think they add so much to this otherwise boring wall, and once they were hung, I knew exactly what I was going to decorate them with.

With all that, I think this bathroom is officially done. I love the nautical, beachy vibe we created in this room.
For one last time, here's the finished room with me squished next to the toilet. I'm so happy with how it turned out.


0 comments